> ## Documentation Index
> Fetch the complete documentation index at: https://docs.getmeasure.com/llms.txt
> Use this file to discover all available pages before exploring further.
# No-Code Quickstart
> Get to your first subscription or one-time invoice in minutes using the Measure dashboard, with no code required.
Get to your first subscription or one-time invoice in minutes. This guide uses only the Measure dashboard, with no code required.
**New to Measure?** Read [Core Concepts](/pages/guides/core-concepts) first for an overview of key terms and entities. For a deeper billing integration via the API, see the [API Quickstart](/pages/guides/quickstart-with-measure-api).
**Measure dashboard**: [app.getmeasure.com](https://app.getmeasure.com)
Build your product and pricing catalog in Measure.
Go to the Measure dashboard → **Products** → **Overview** → **Add New Product**.
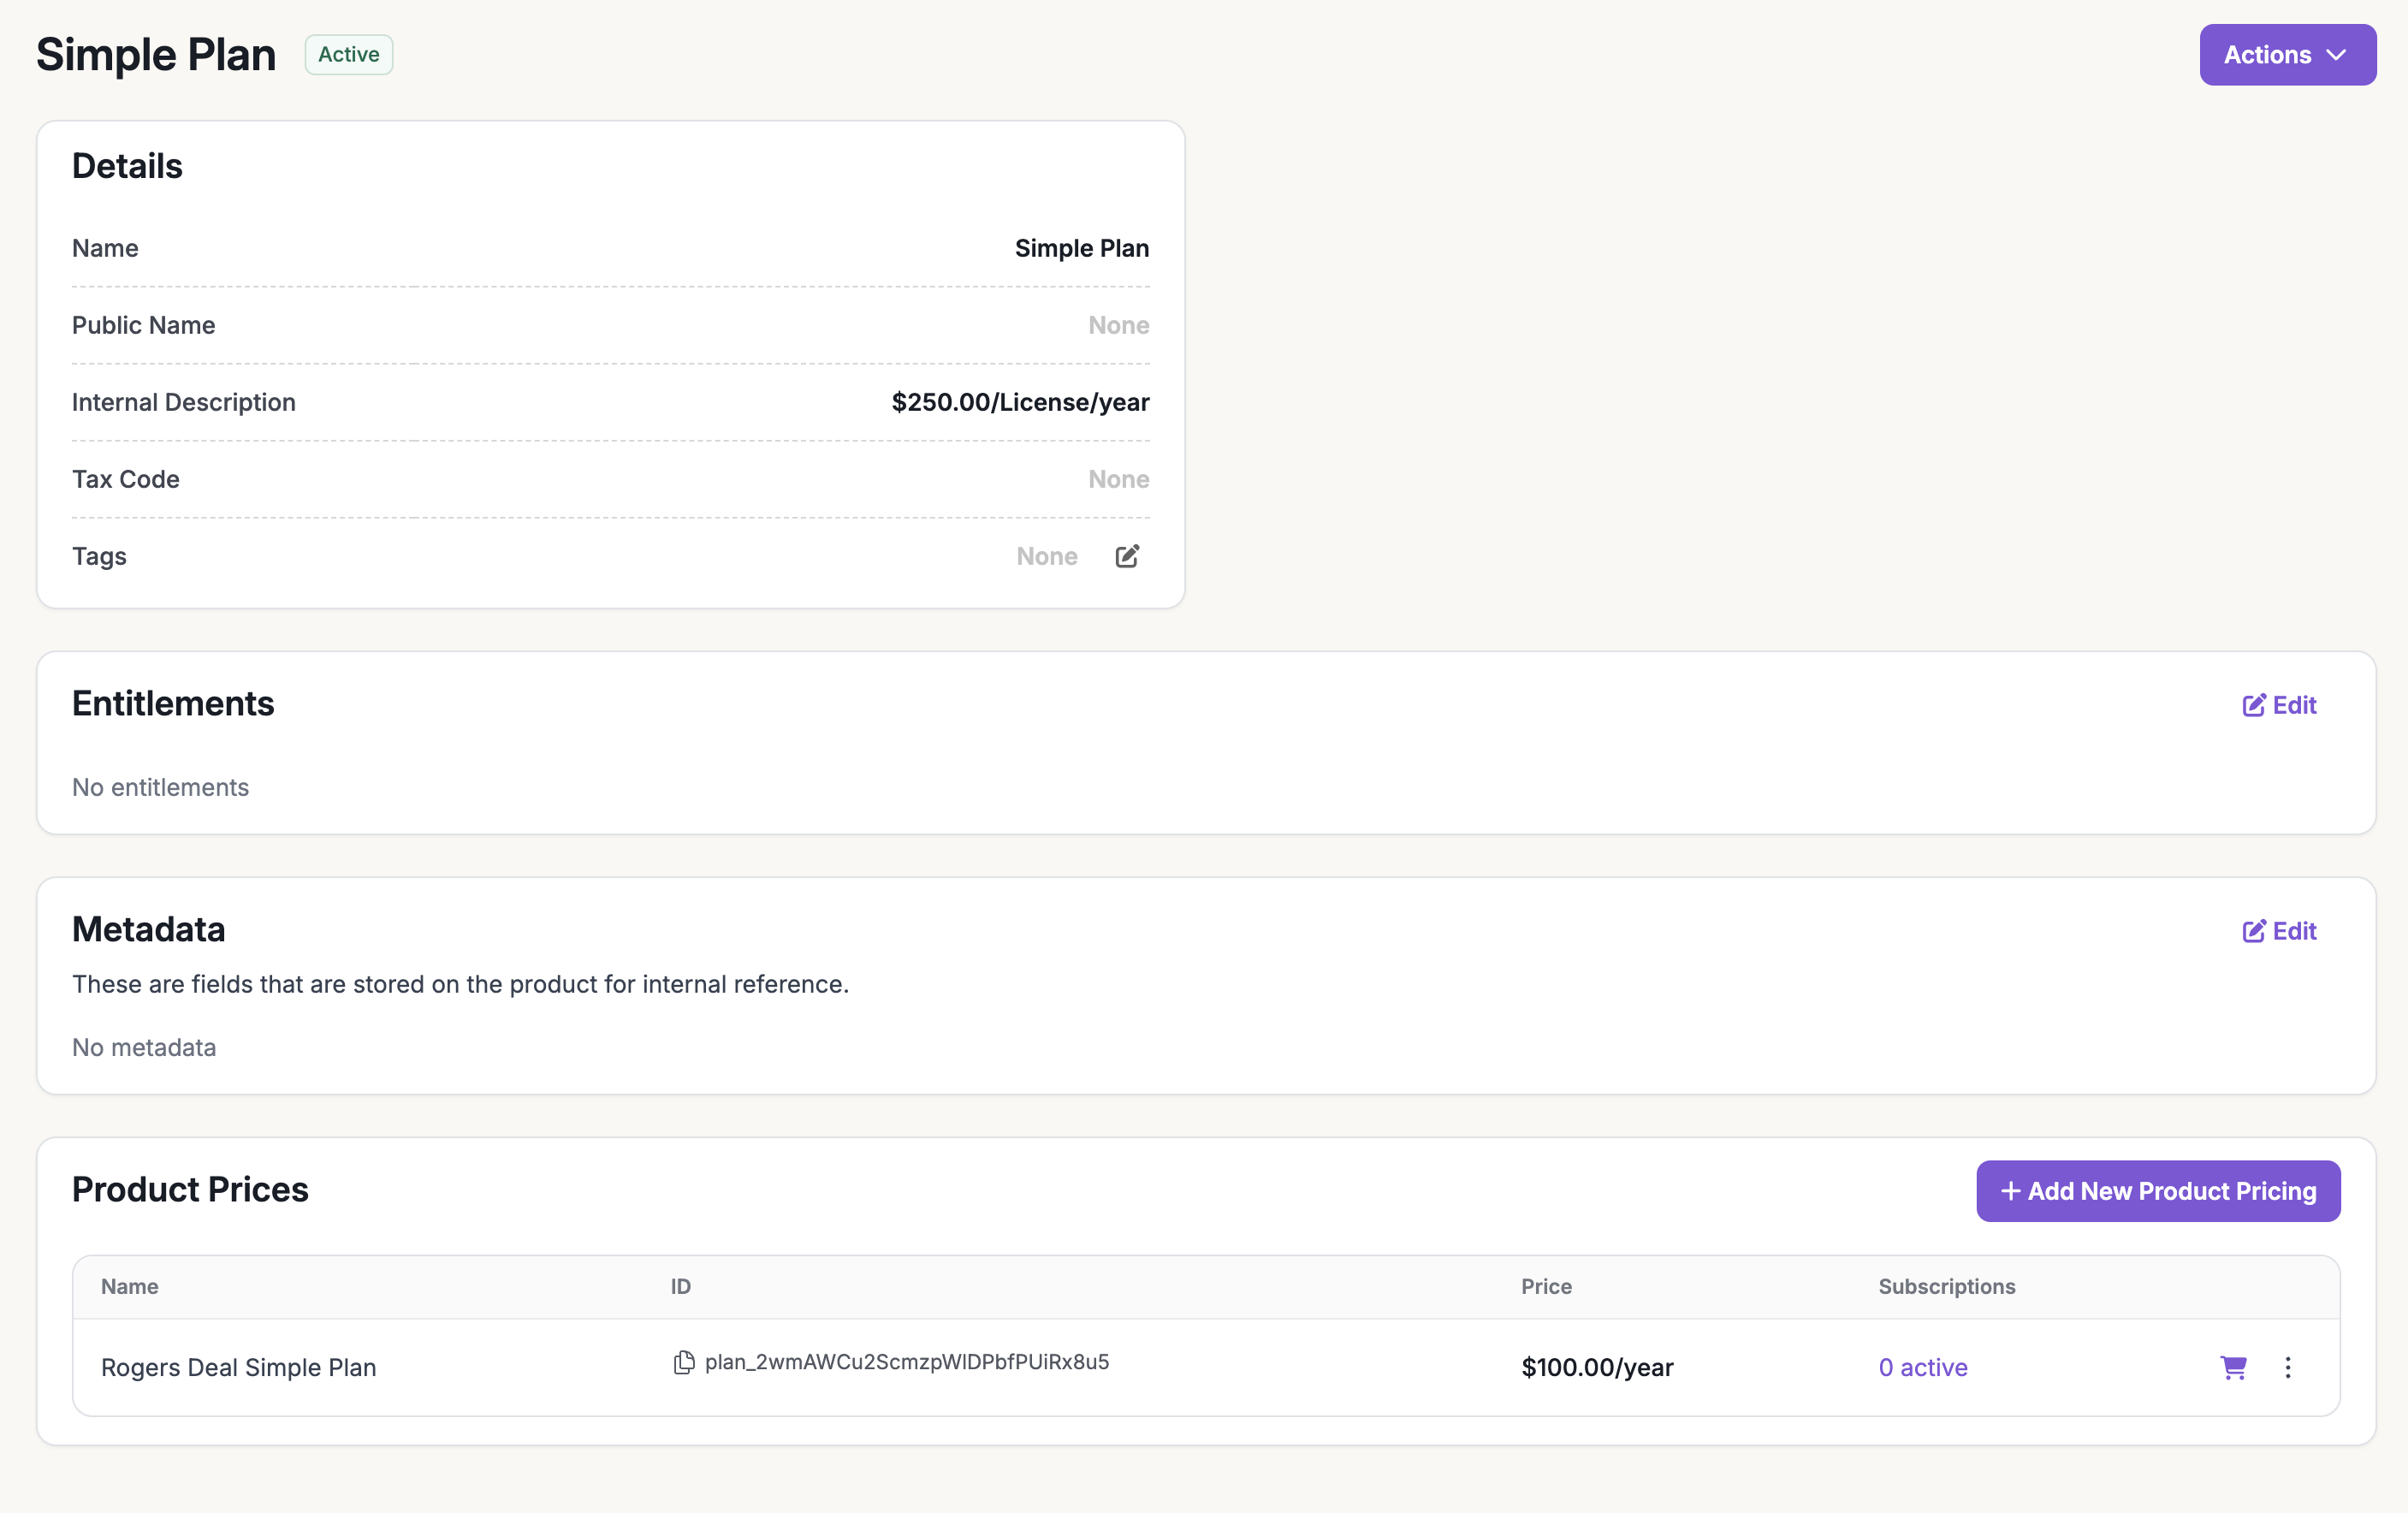 Under the new product, click **Add New Product Pricing** to create a plan.
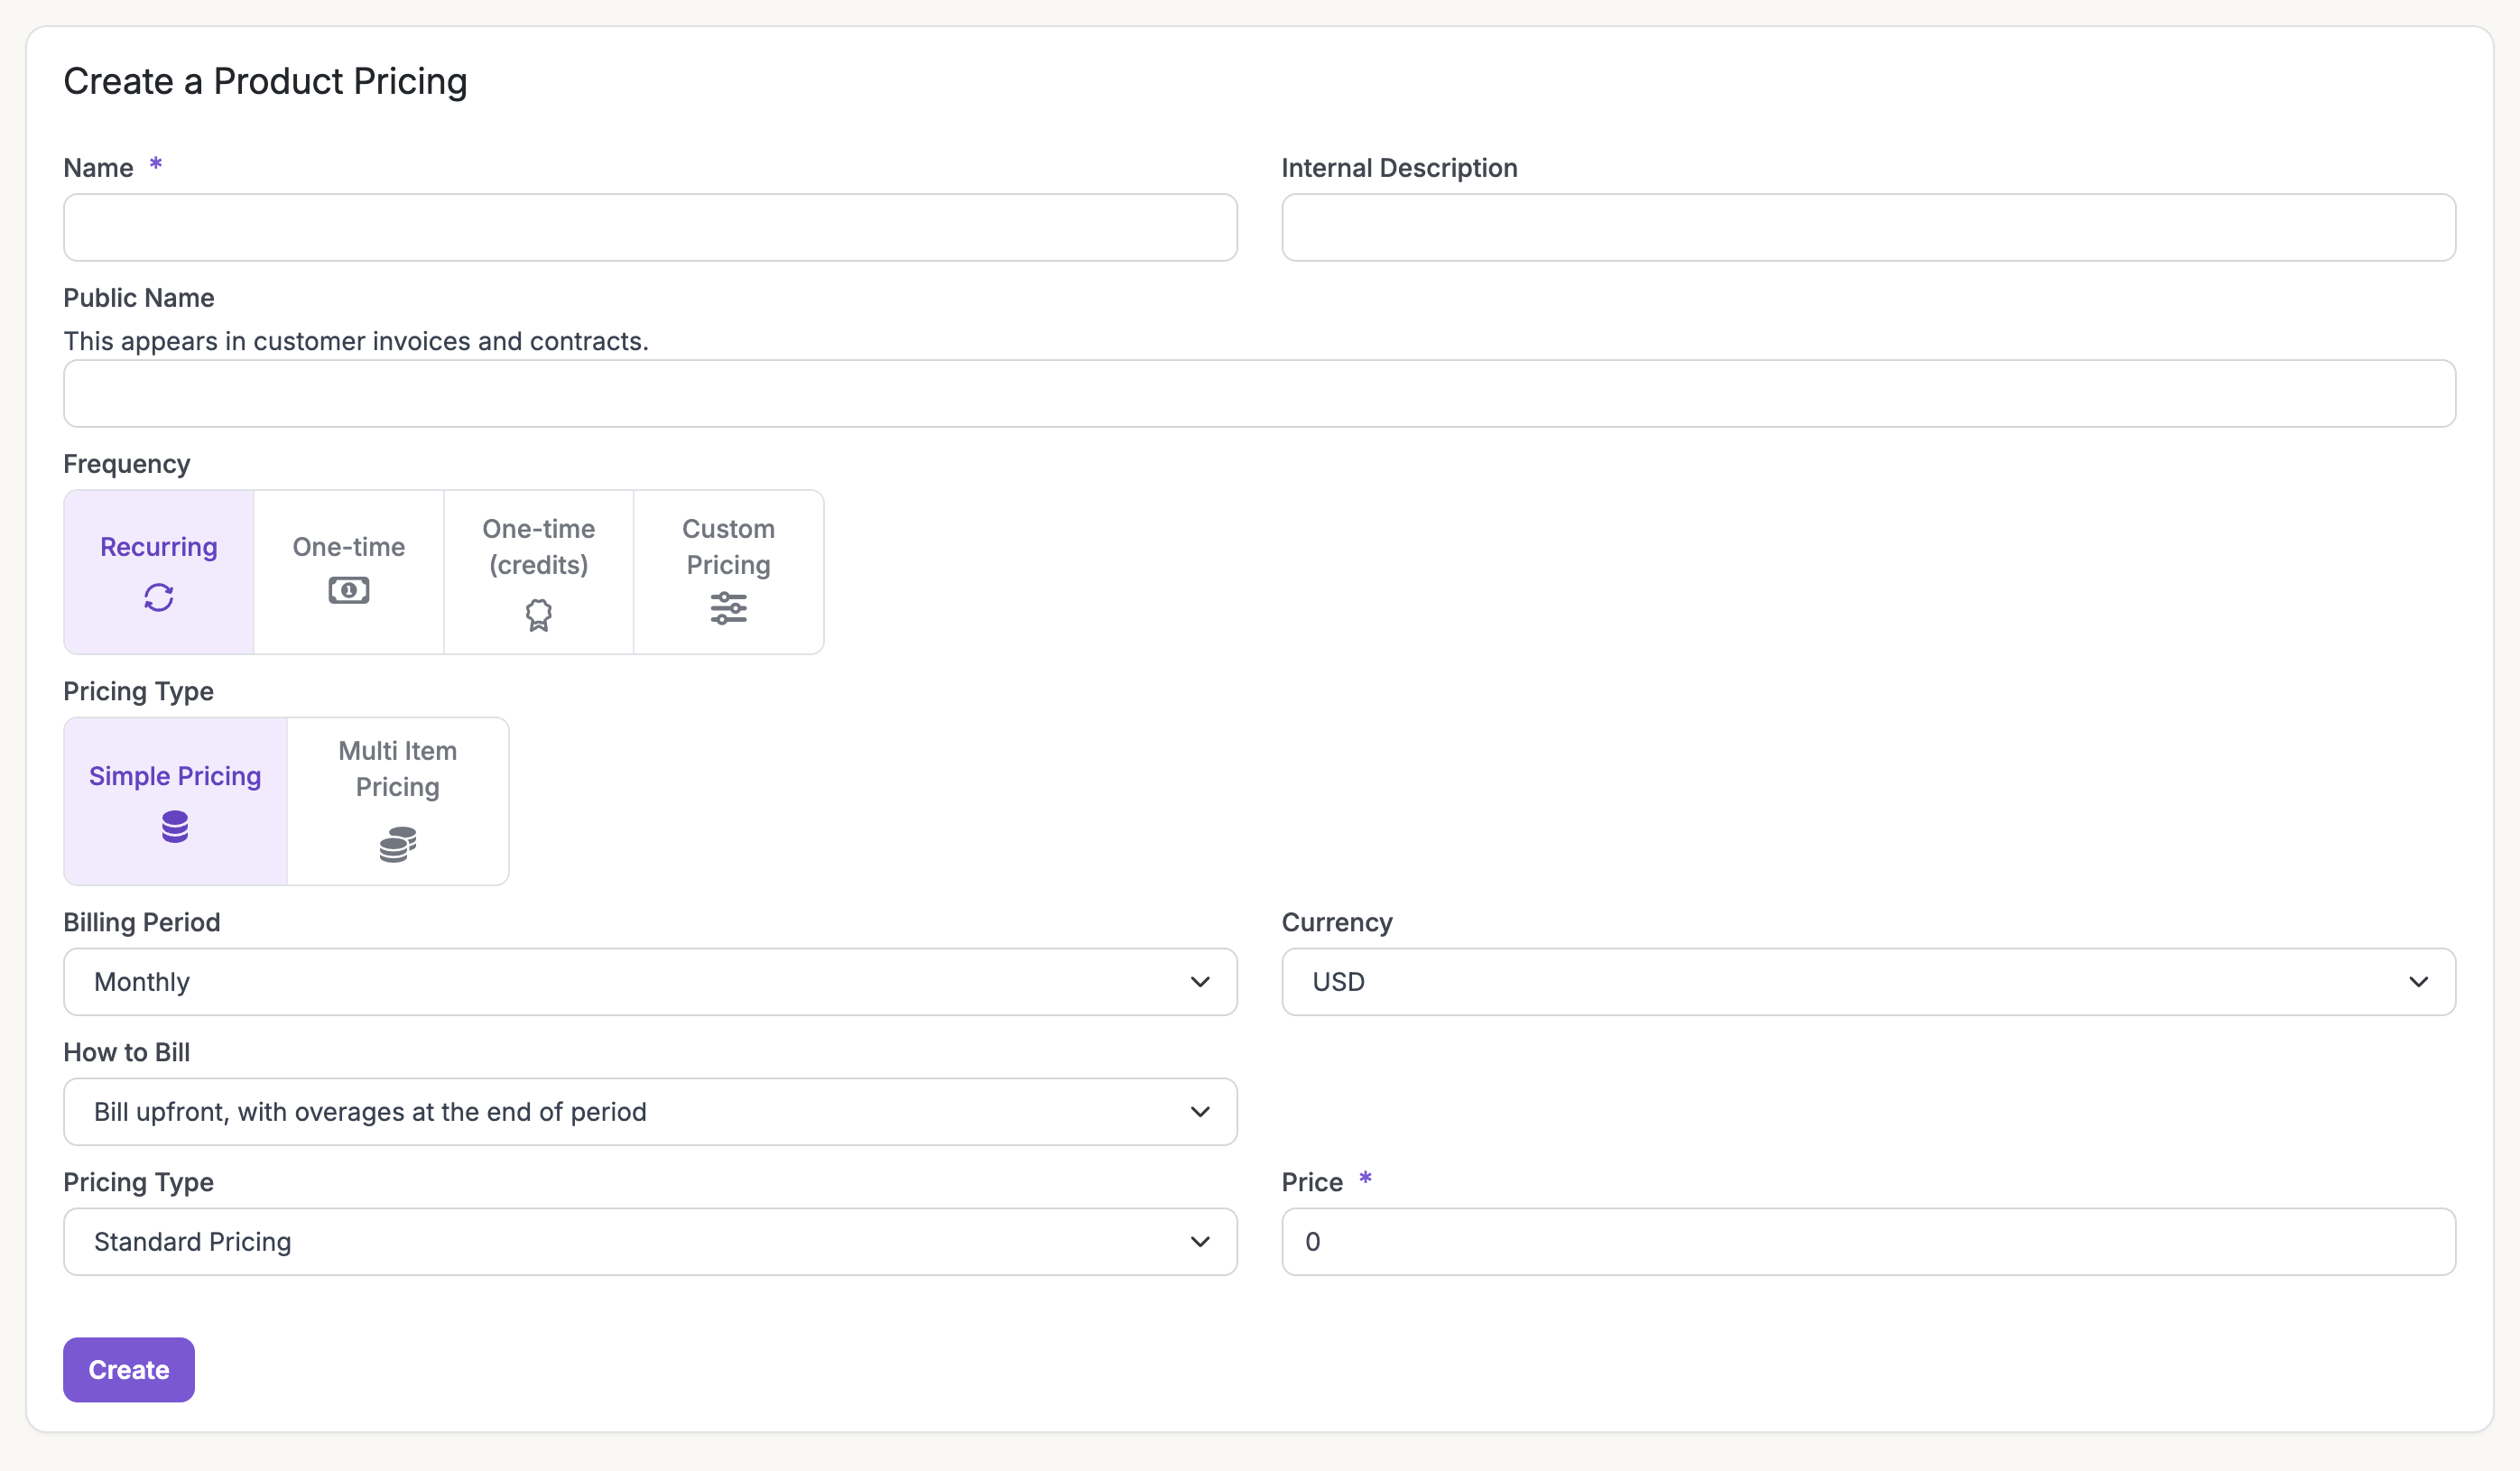 You can add multiple recurring pricing components under a single plan at different billing frequencies with multi-item pricing. For advanced pricing, see [Setting up billable metrics](/pages/guides/setting-up-billable-metrics).
Connect a payment provider so Measure can charge invoices.
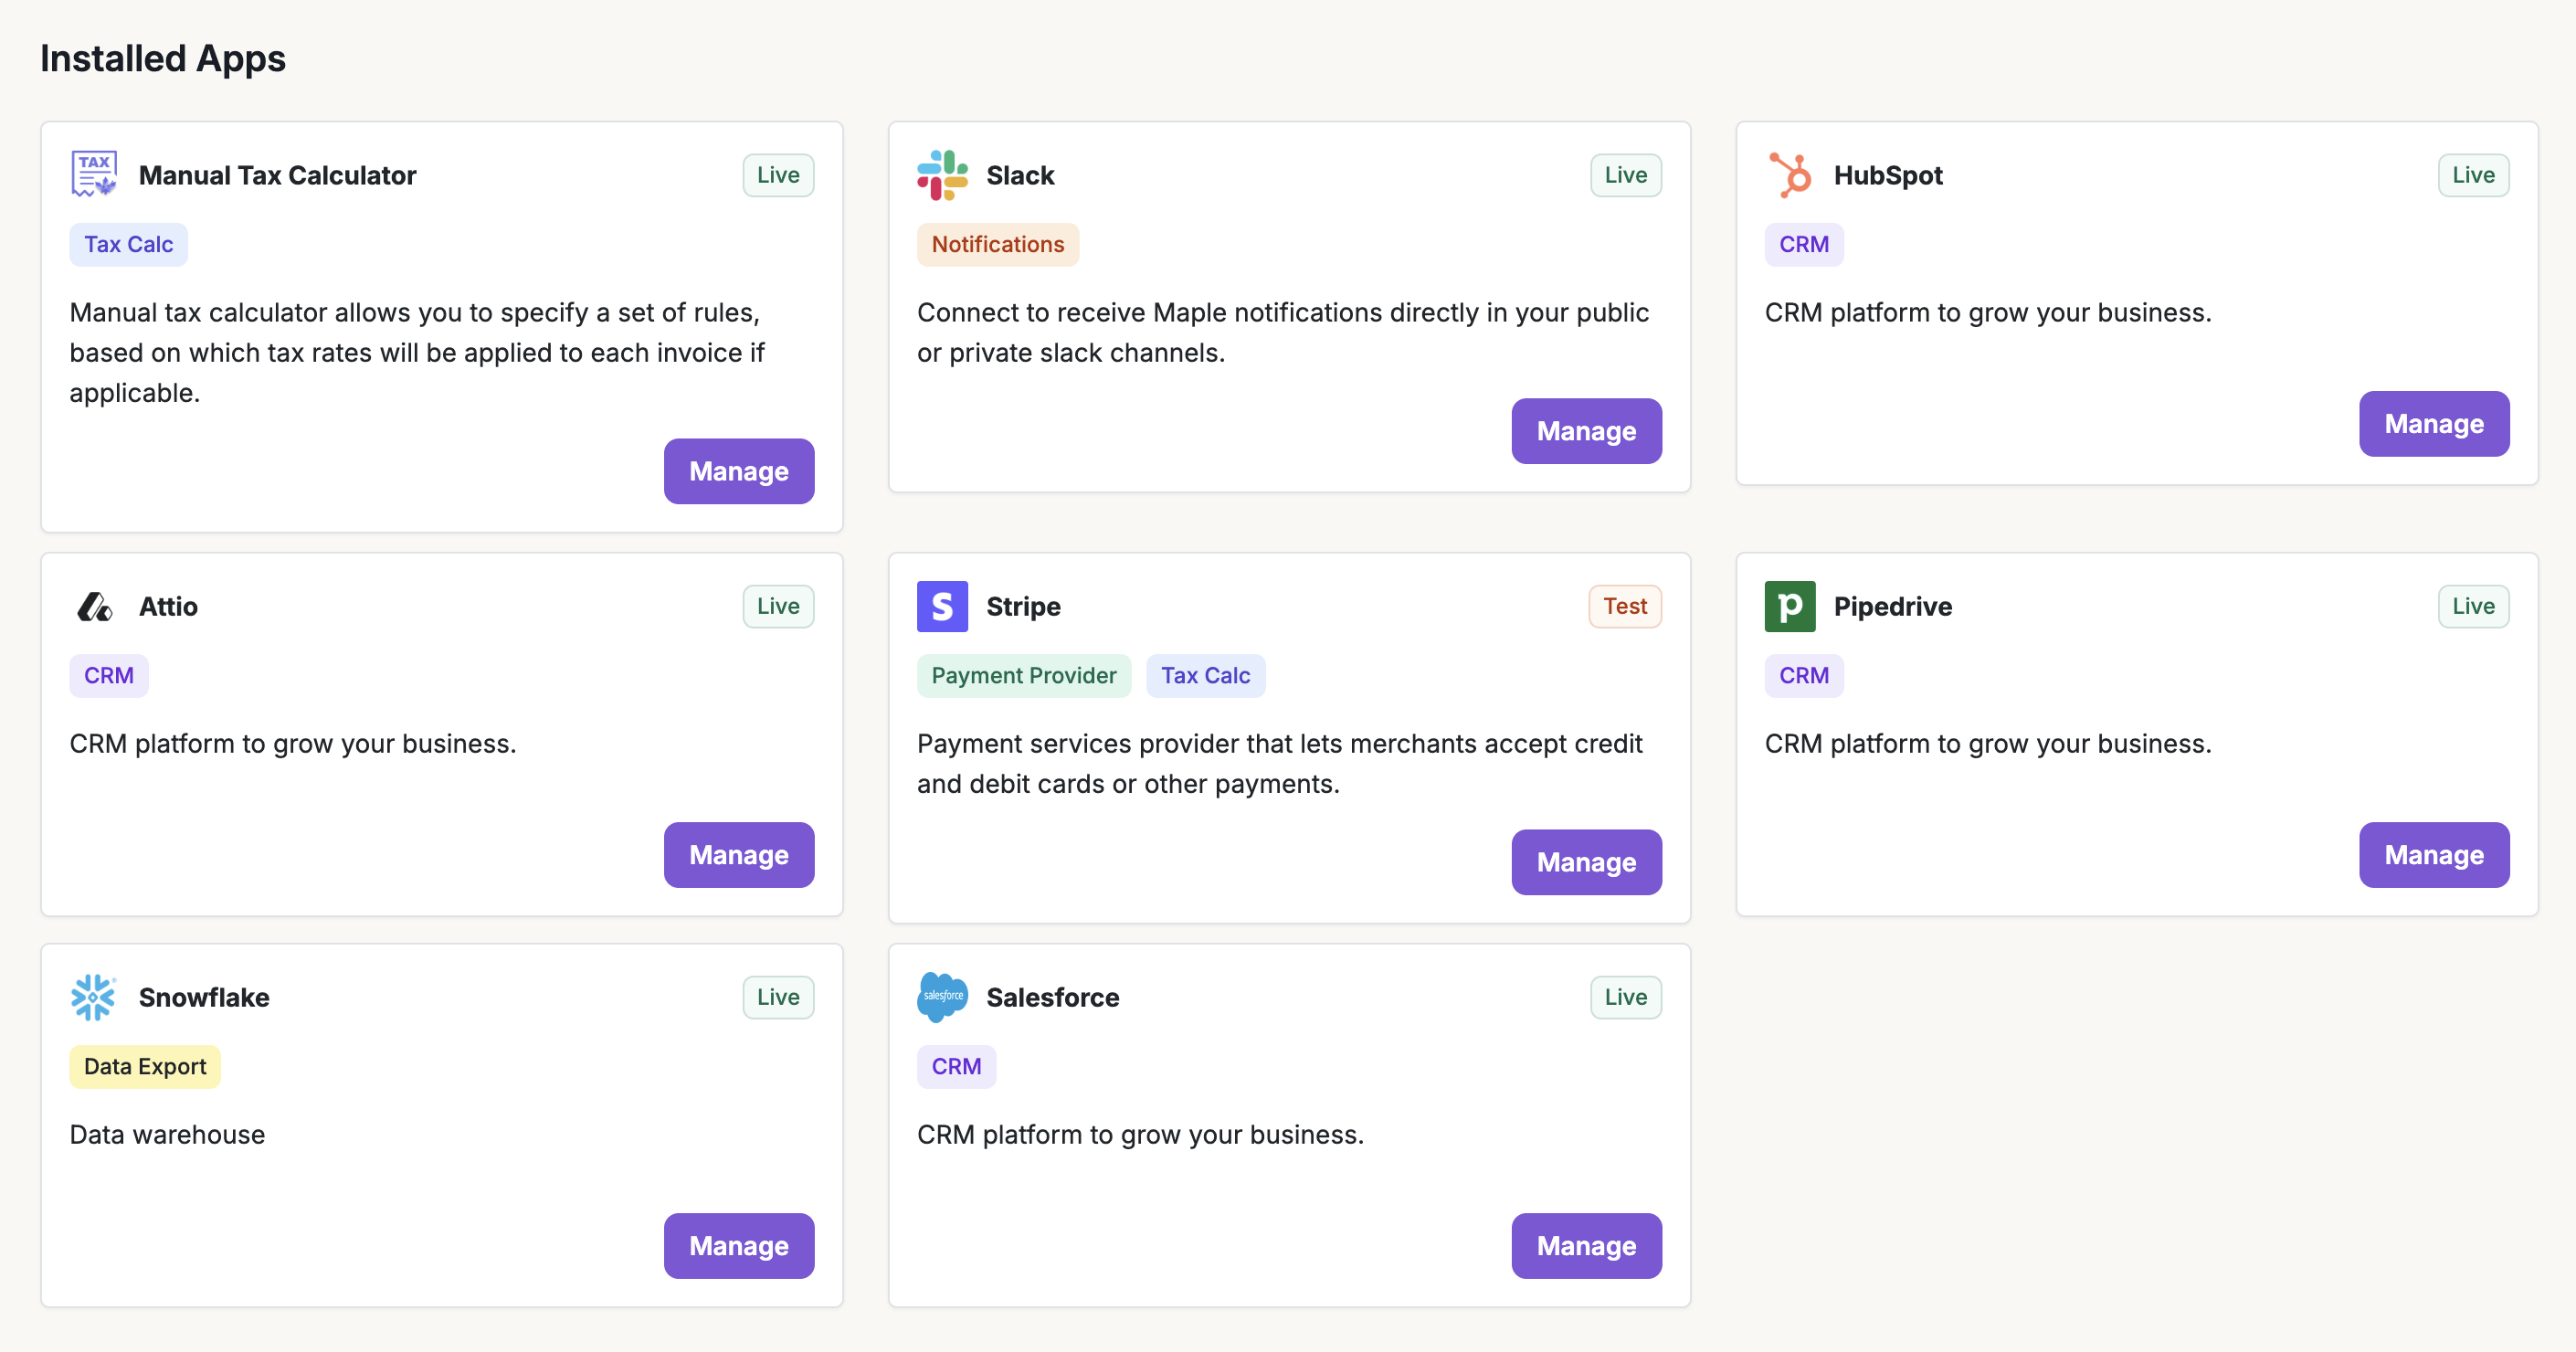
Go to **Integrations** and click **Connect** on Stripe (or another supported provider). Complete the connection flow to link your account.
You can add multiple recurring pricing components under a single plan at different billing frequencies with multi-item pricing. For advanced pricing, see [Setting up billable metrics](/pages/guides/setting-up-billable-metrics).
Connect a payment provider so Measure can charge invoices.
Go to **Integrations** and click **Connect** on Stripe (or another supported provider). Complete the connection flow to link your account.
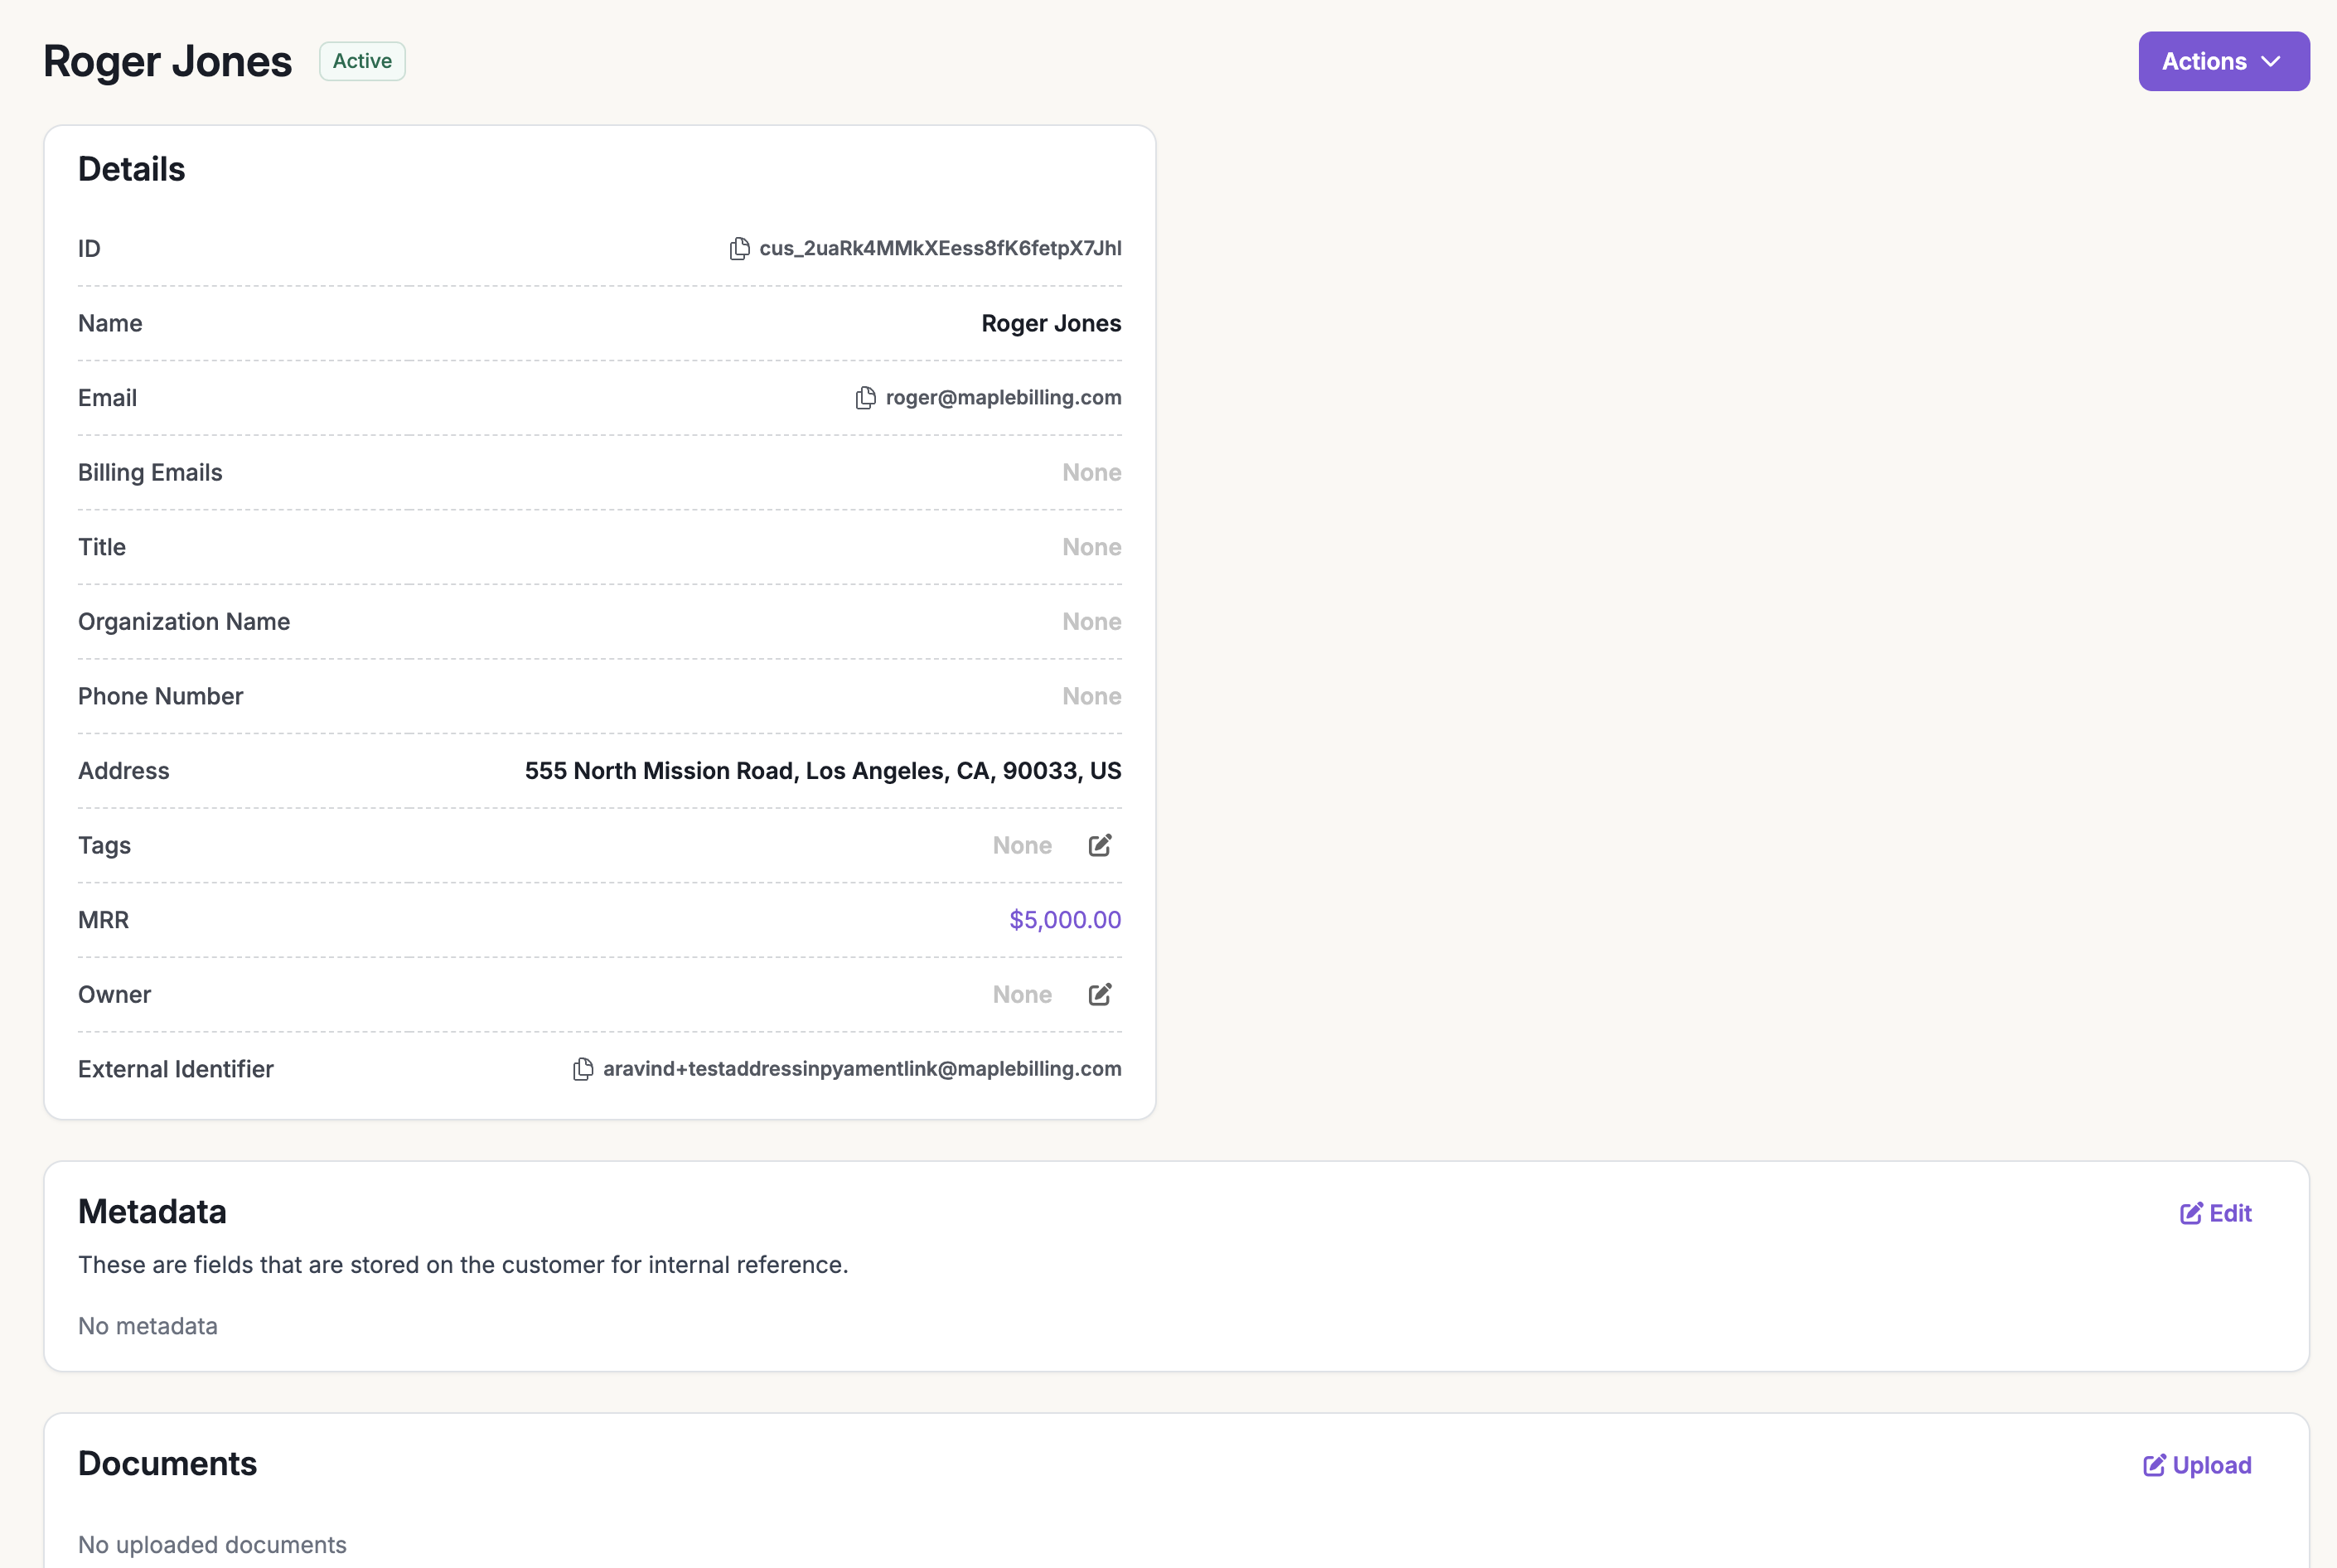
 Create a customer, then attach a subscription to start billing.
Go to **Customers** → **Create Customer**, add the customer details, and click **Add Customer**.
If you use a CRM integrated with Measure (see [Sales and CRM integrations](/pages/guides/sales-and-crm-integrations)), you can go to **Subscriptions** → **Create New Subscription** and select the customer from your CRM.
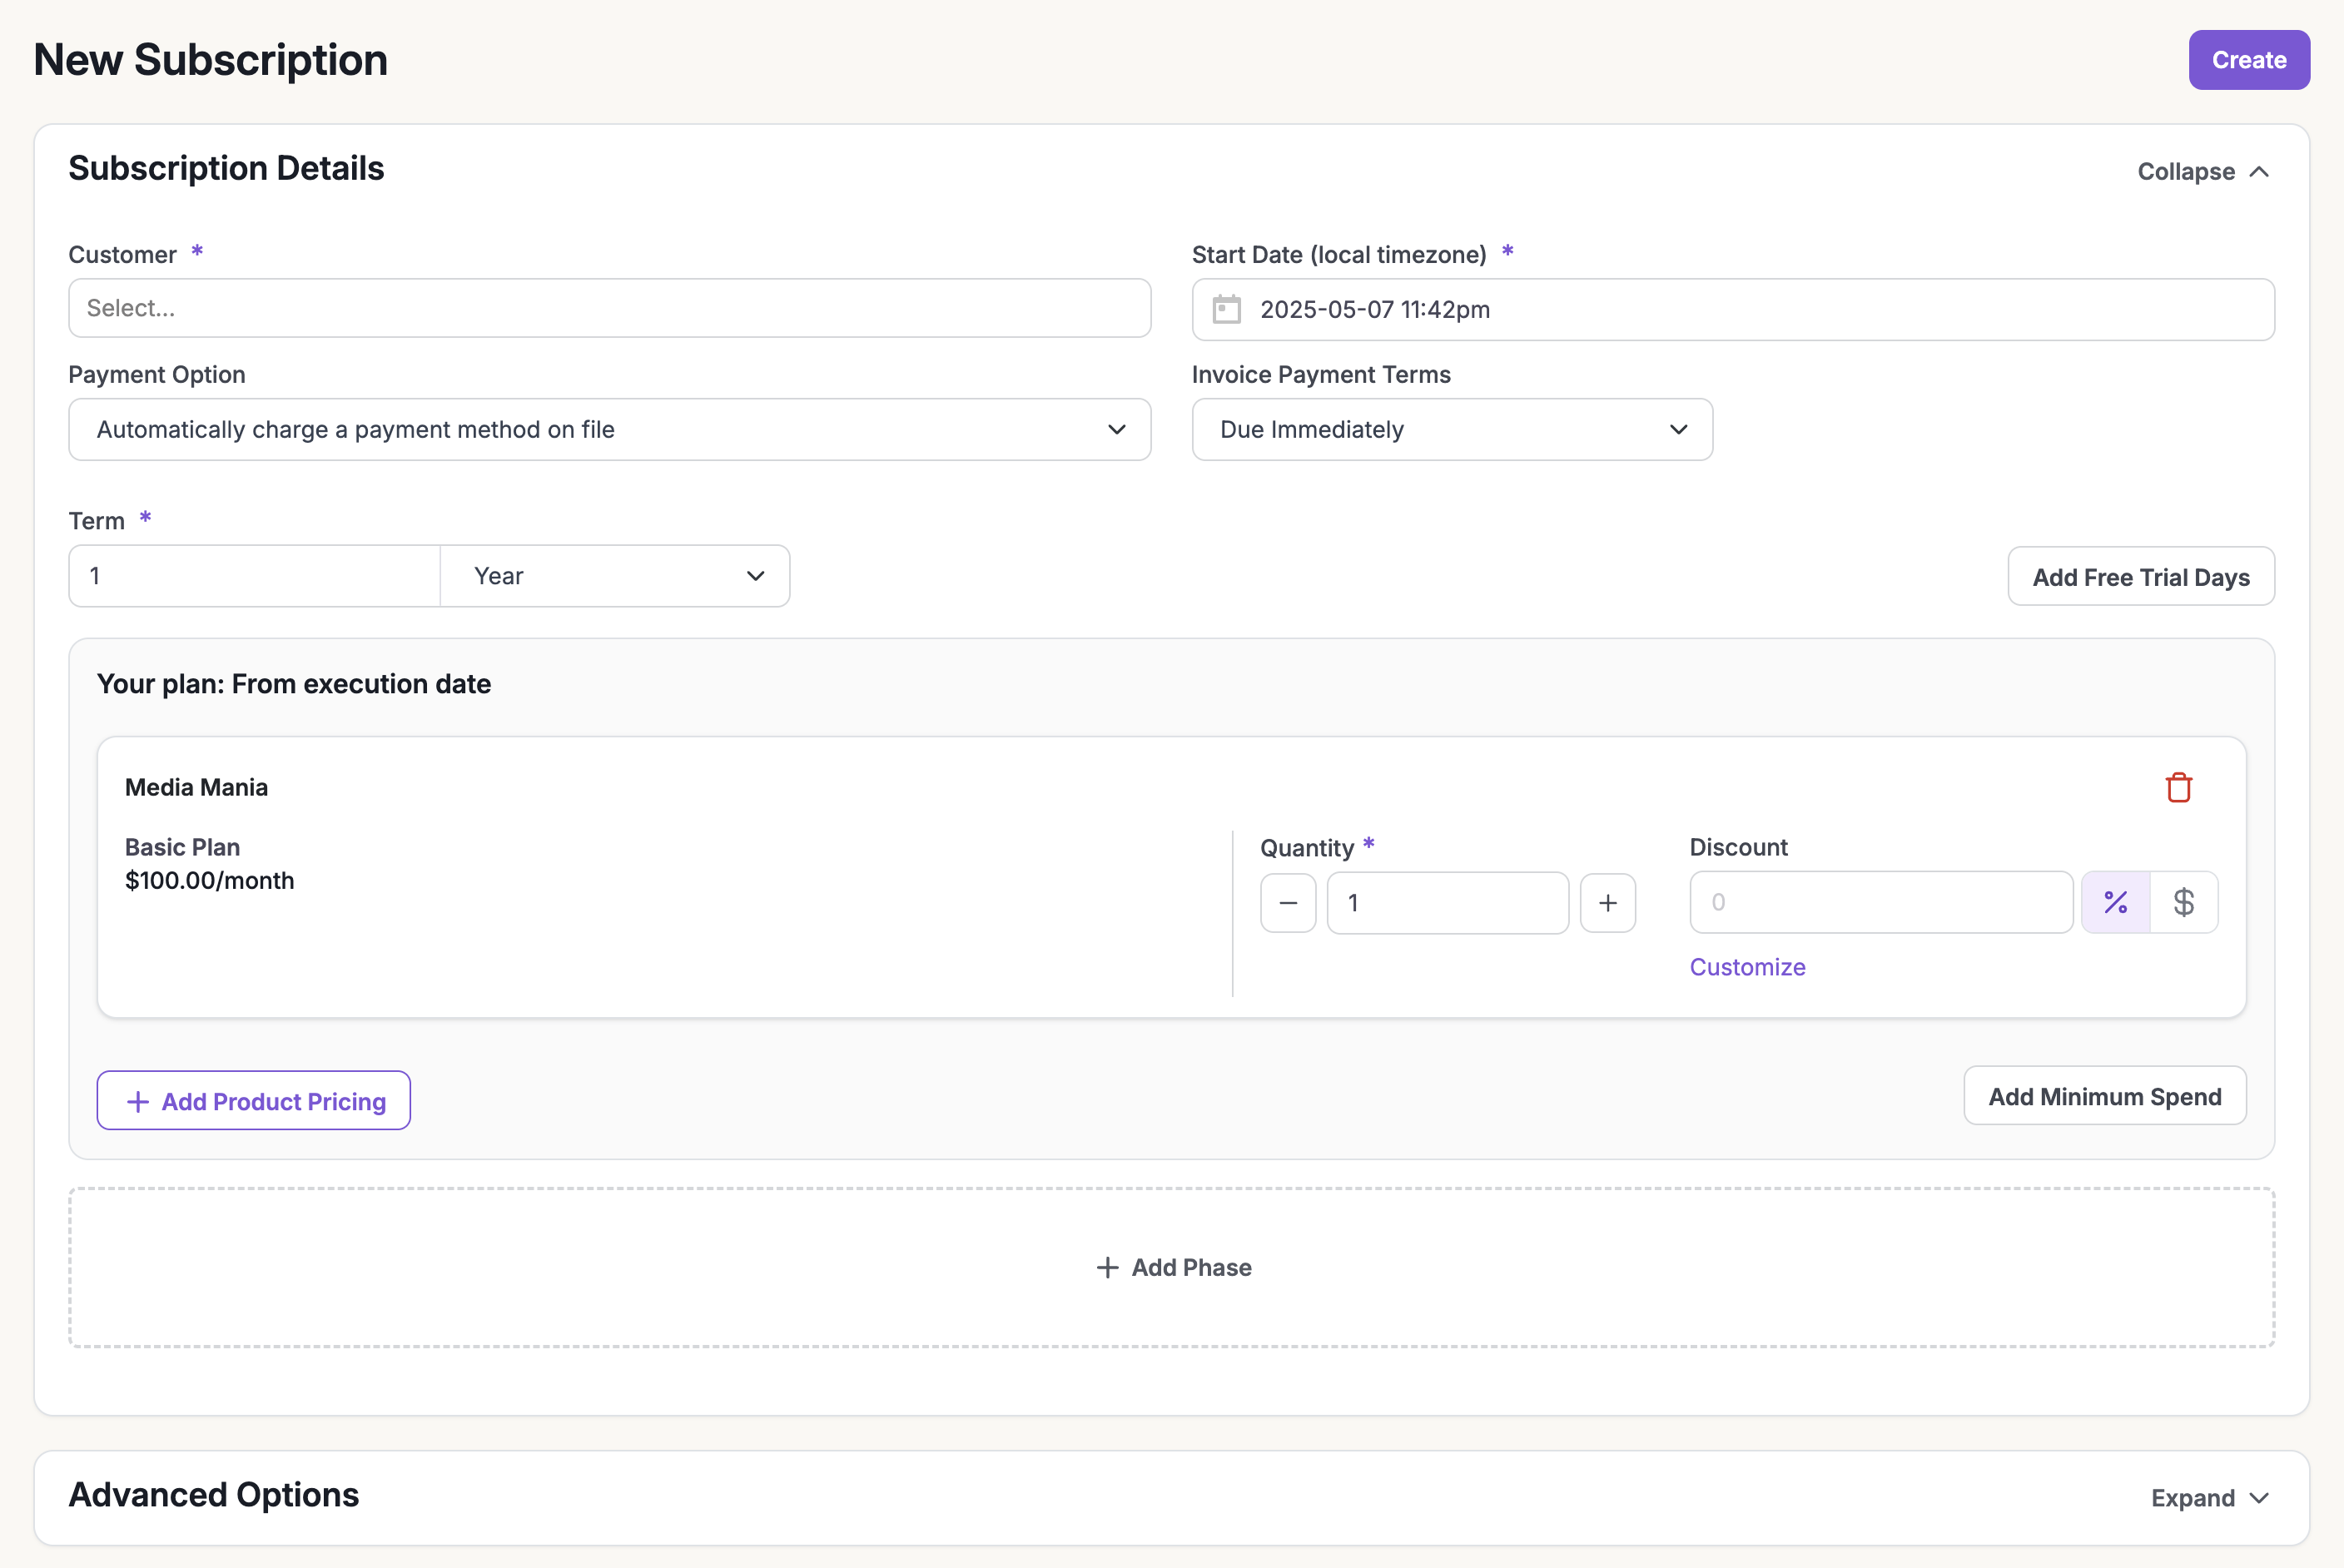
Go to **Subscriptions** → **Create New Subscription**, choose the customer, and click **Create Subscription**.
Create a customer, then attach a subscription to start billing.
Go to **Customers** → **Create Customer**, add the customer details, and click **Add Customer**.
If you use a CRM integrated with Measure (see [Sales and CRM integrations](/pages/guides/sales-and-crm-integrations)), you can go to **Subscriptions** → **Create New Subscription** and select the customer from your CRM.
Go to **Subscriptions** → **Create New Subscription**, choose the customer, and click **Create Subscription**.
 Select your plan (e.g., **Basic Plan**). Use **Advanced Options** for an end date, manual billing, or net terms.
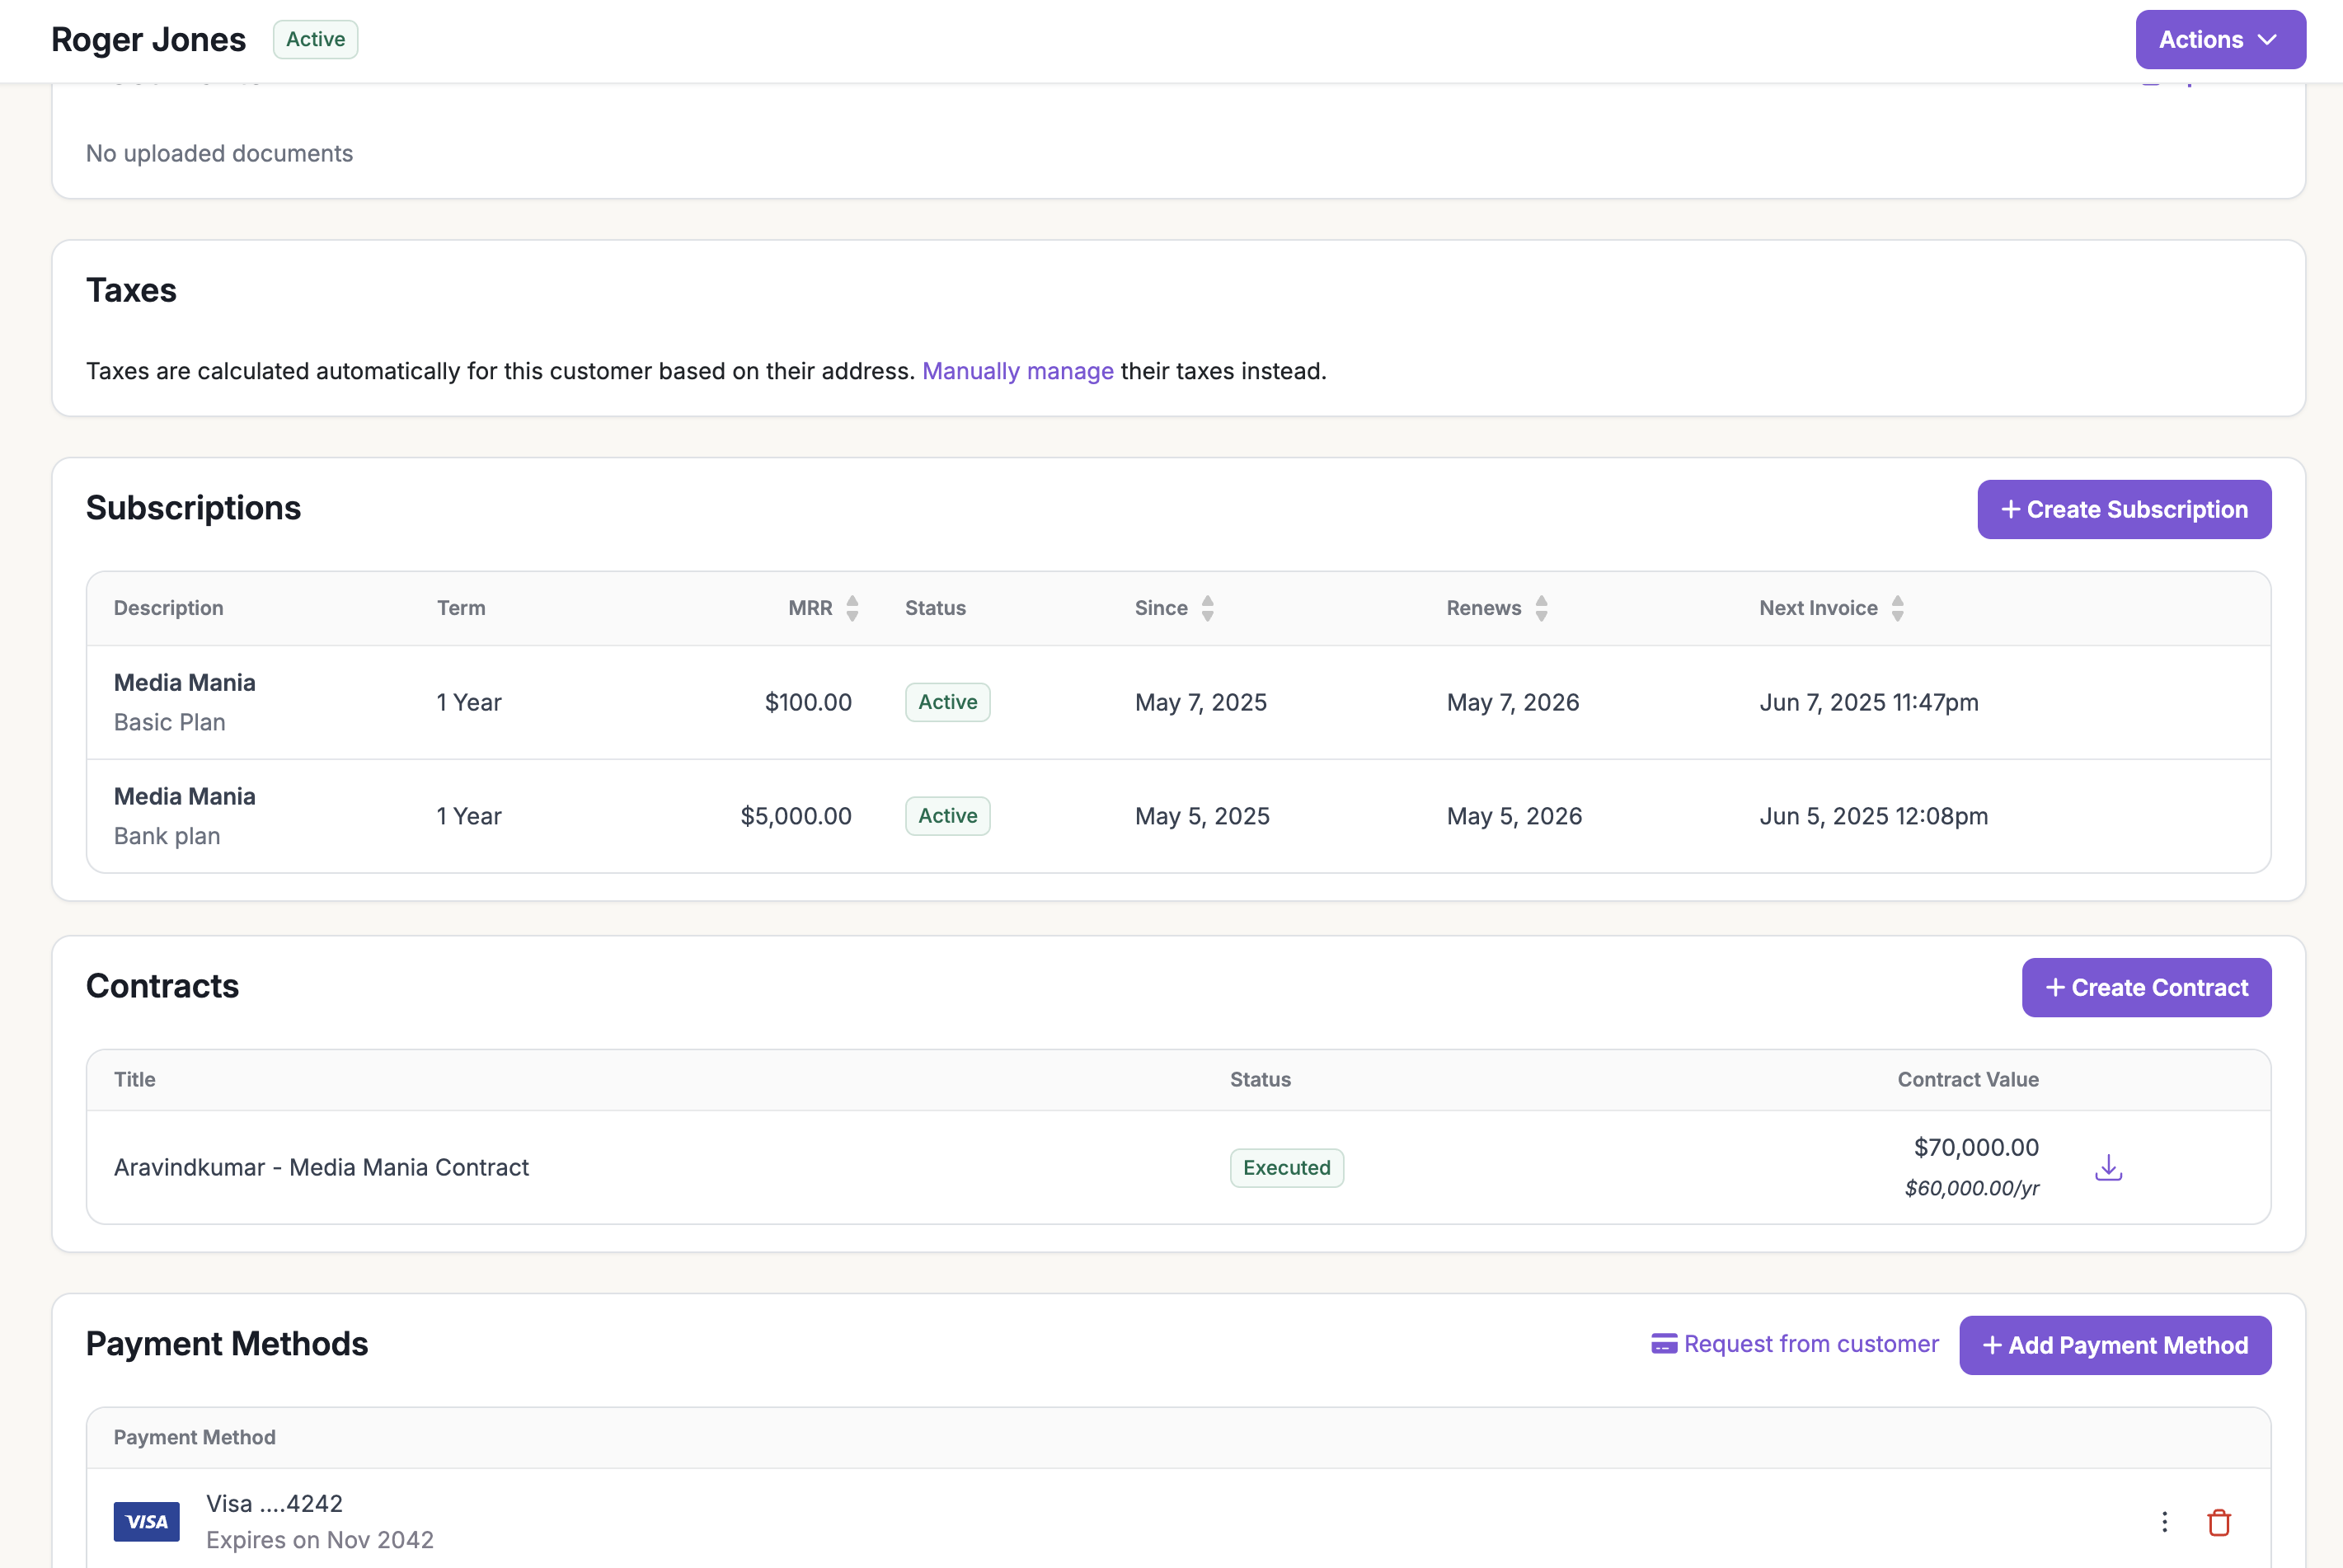
 The new subscription appears under the customer.
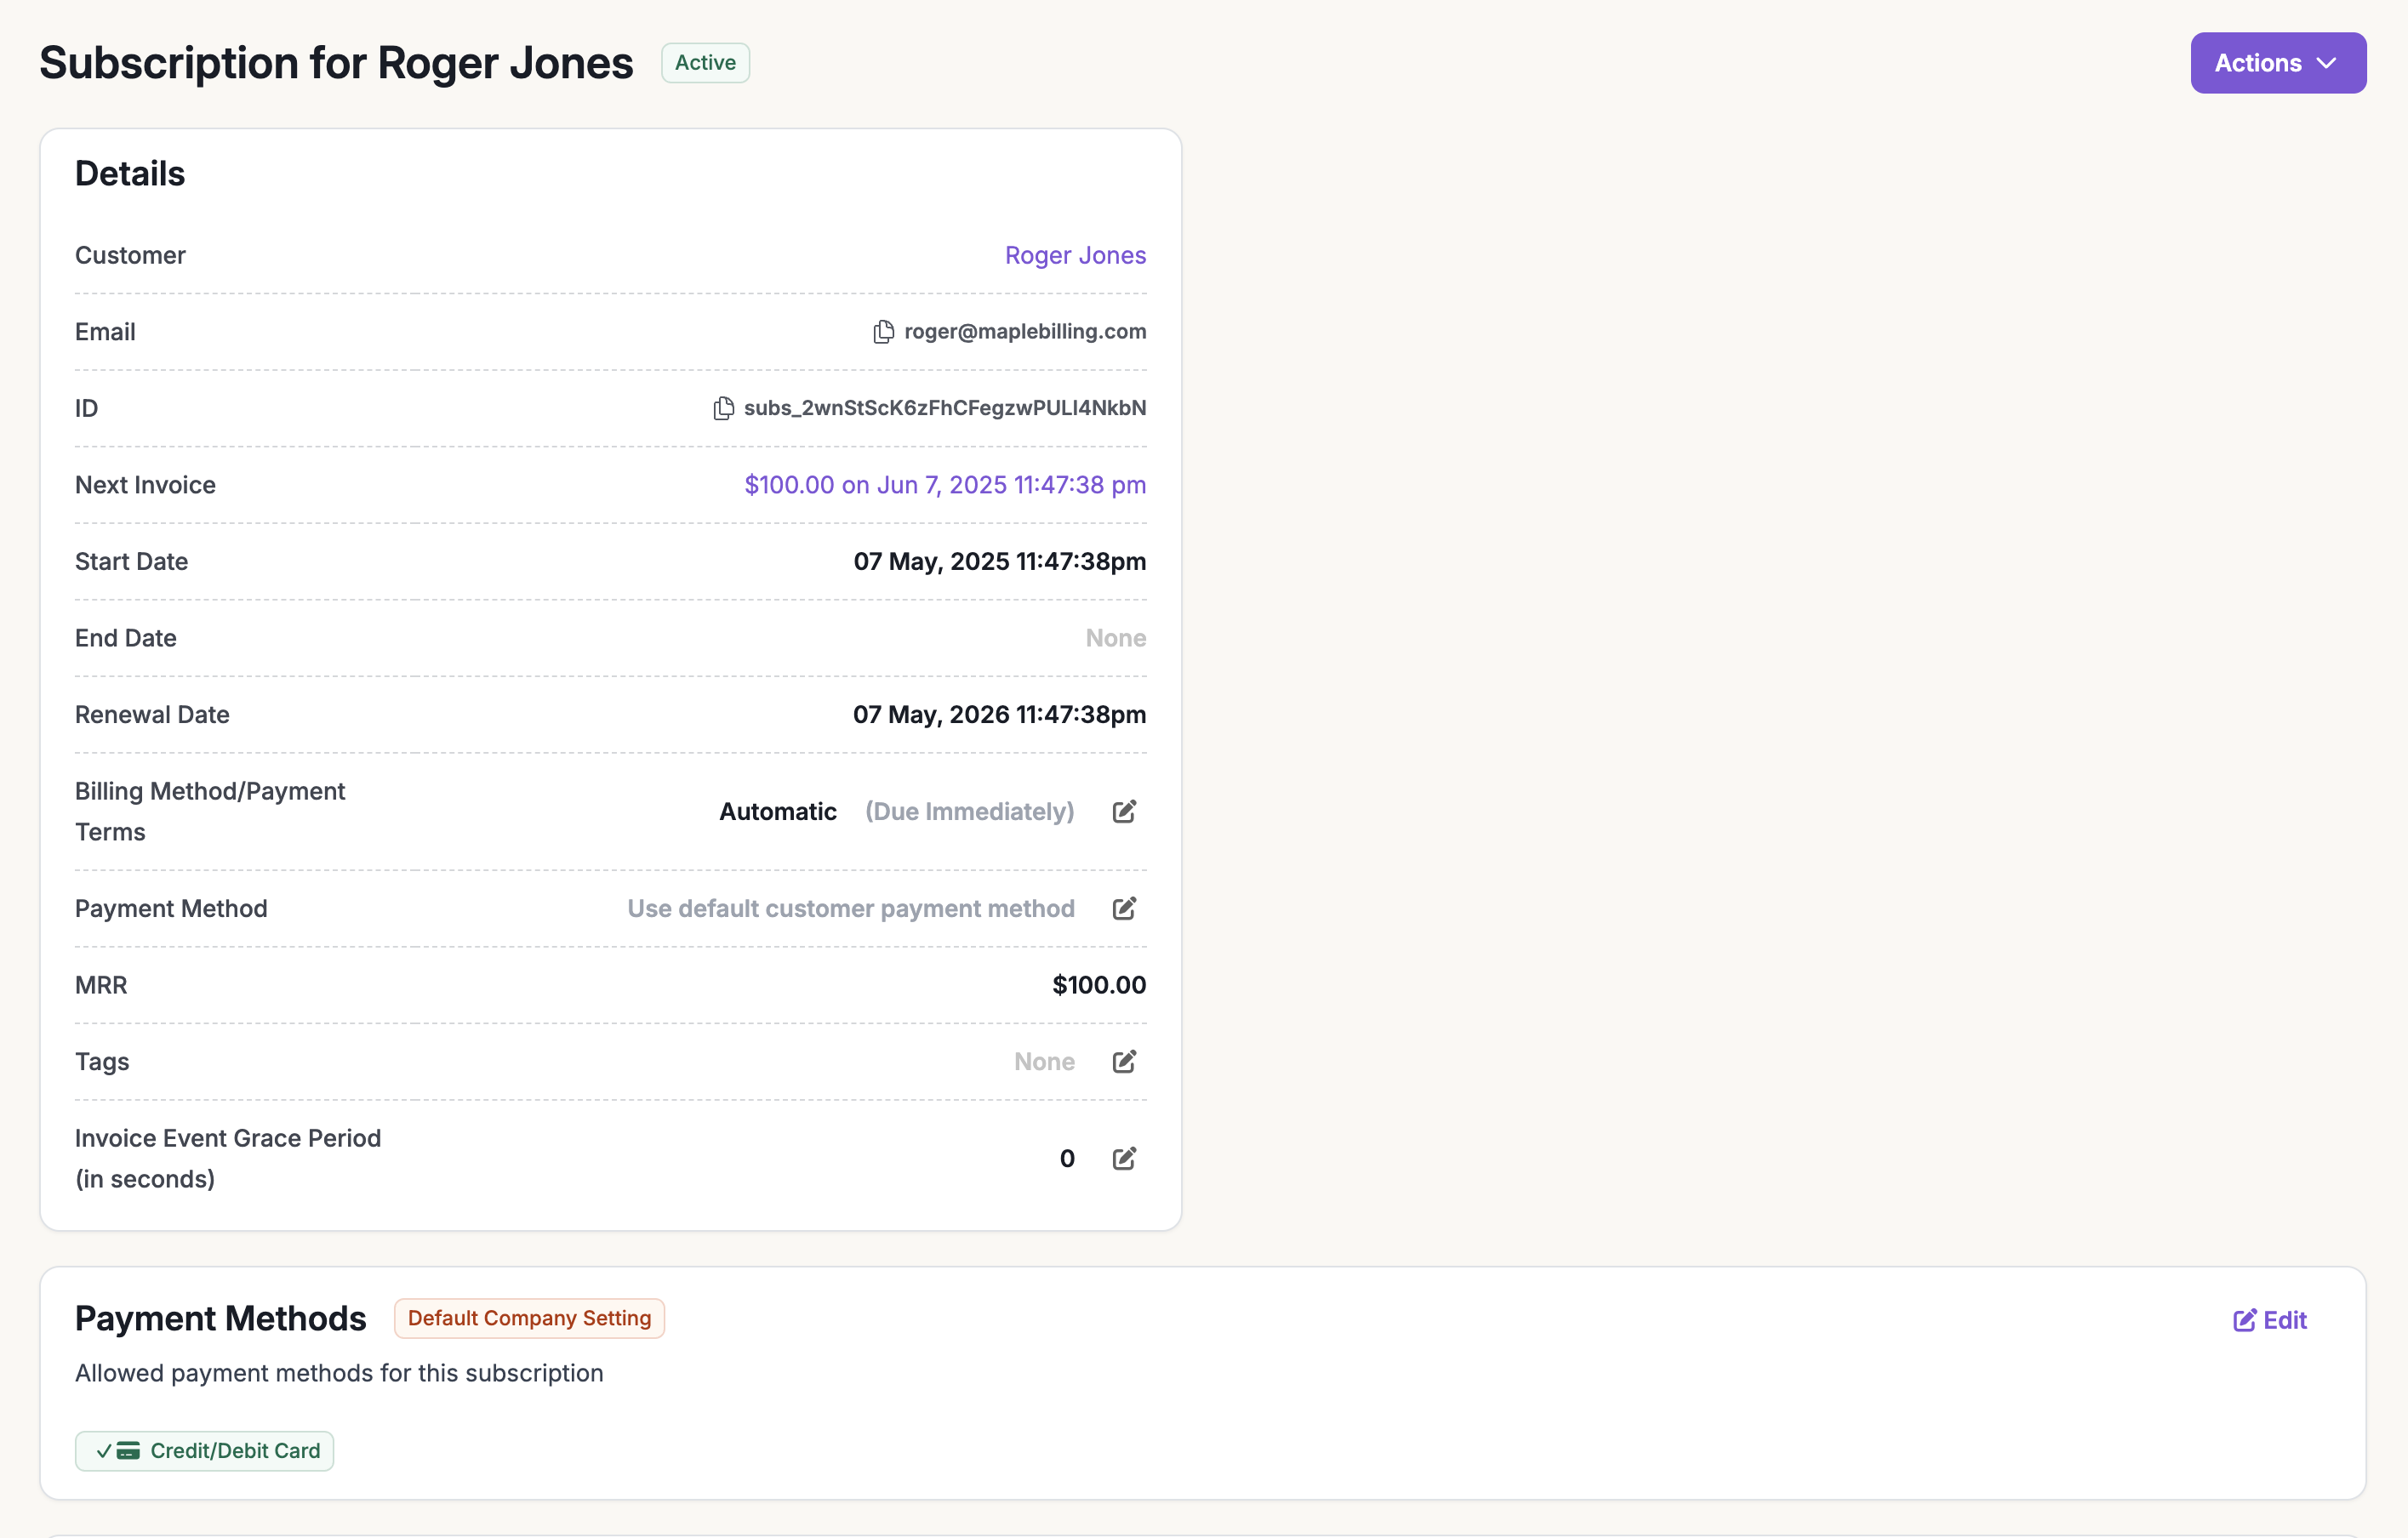
 When the subscription is created, the first invoice is generated and you get a preview of the next invoice.
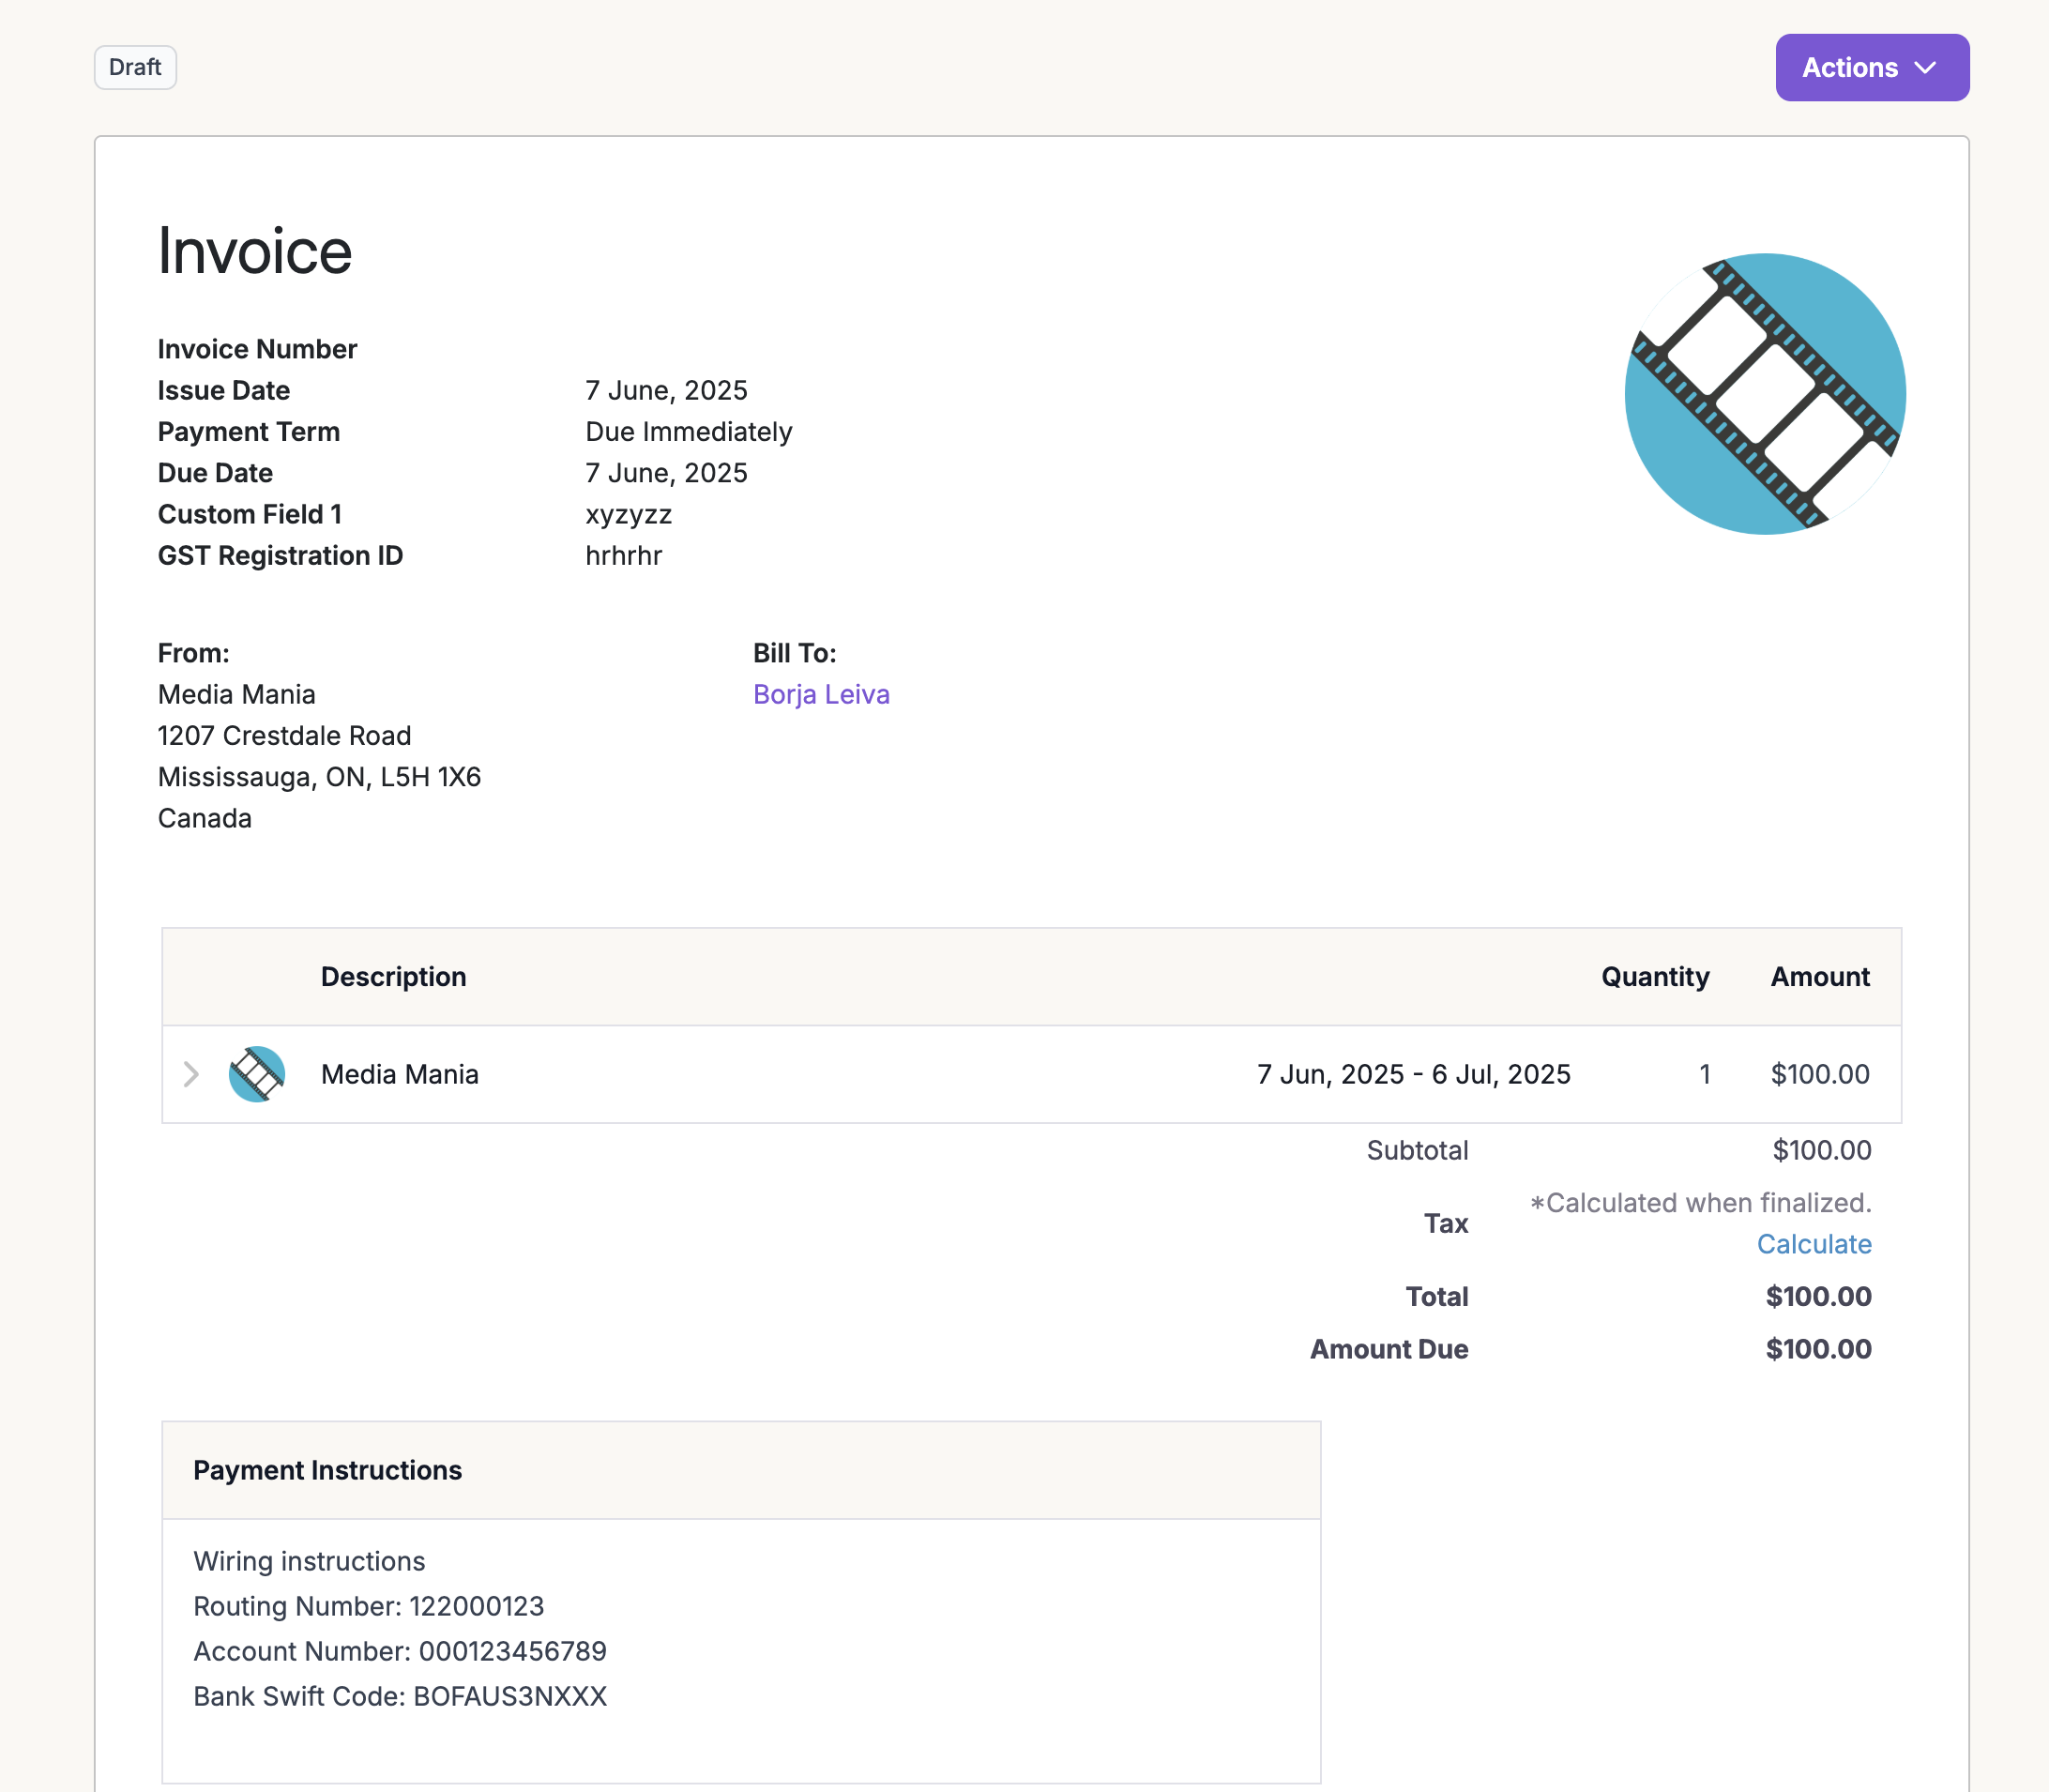
 If the customer has a payment method on file and the subscription is set to auto-charge, the invoice is charged and marked as paid automatically.
In **manual invoicing** mode, the invoice stays open for you to share with the customer for payment.
If the customer has a payment method on file and the subscription is set to auto-charge, the invoice is charged and marked as paid automatically.
In **manual invoicing** mode, the invoice stays open for you to share with the customer for payment.
 You now have a live subscription, an issued invoice, and (with auto-charge) a completed payment. For more, see [Invoicing](/pages/guides/invoicing).
## Next Steps
Create customers, subscriptions, and invoices via the Measure API
Create, edit, and issue invoices and credit notes
Set up usage-based and object-based billing
Review key entities and workflows in Measure
You now have a live subscription, an issued invoice, and (with auto-charge) a completed payment. For more, see [Invoicing](/pages/guides/invoicing).
## Next Steps
Create customers, subscriptions, and invoices via the Measure API
Create, edit, and issue invoices and credit notes
Set up usage-based and object-based billing
Review key entities and workflows in Measure